WordPress website development has become a complicated business, but you don’t have to throw yourself in at the deep end.
Getting your development workflow under control is one of the essential things in developing a WordPress site.
This article will look at tools and services to help you with your WordPress workflow.
What Is a WordPress Development Workflow?
Development workflows span all stages of production, including planning, developing, testing, deployment and iteration.
A development workflow is a series of steps that guides you through the development process.
Why Is a WordPress Development Workflow Important?
When I first started creating websites, I would jump right into the code, hacking out theme templates and page outlines.
I made many mistakes and got myself into situations where it took hours or days to correct a mistake I could have avoided if I had defined and worked with a workflow.
Following a development workflow will help keep your website project consistent and on track with minimal disruptions.
Easy to Implement WordPress Development Workflow
My WordPress development workflow has evolved over many years to embrace the modern WordPress development stack, but if this is your first time defining a workflow, I urge you to keep it simple. You can expand your workflow at any time when it needs to grow.
Here’s my WordPress expert guide to implementing an easy WordPress development workflow to start a new WordPress website project.
I assume you have completed the due diligence, requirements gathering and other project-related tasks and are ready to kick off your project.
Step #1 Design
The word “design” encompasses many things and meanings depending on your skill set.
For a WordPress website project, the “design” phase would encompass building wireframes or mockups of the main website pages, structure and UI with feedback from your client.
Under design, I also consider which plugins I will need to deliver the required website functionality and how they can be styled.
Lastly, I consider the hosting architecture needed to run and support the website traffic requirements in the design step.
If like me, you are a website developer who prefers (and is better at) writing code than artistic design, you may want to consider partnering with a graphic designer to get this part done. Or let the client take charge of outsourcing the designs.
If this is the case, ensure that you are involved with the designer to provide feedback before finalising the designs. Your knowledge of how WordPress works and the constraints of specific processes, functionality and plugins will help ensure the design works at implementation.
If you are a website designer with design skills, you may be directly involved in creating the wireframes and mockups.
There are many tools to help create wireframes and mockups.
Balsamiq
Balsamiq is one of the most popular wireframing tools.

Source: balsamiq.com
It has a simple drag-and-drop interface and a heap of elements available to quickly produce wireframes for your website project.
I used Balsamiq for many years with great success.
Photoshop
Photoshop is an industry-standard way to deliver prototypes and mockups.
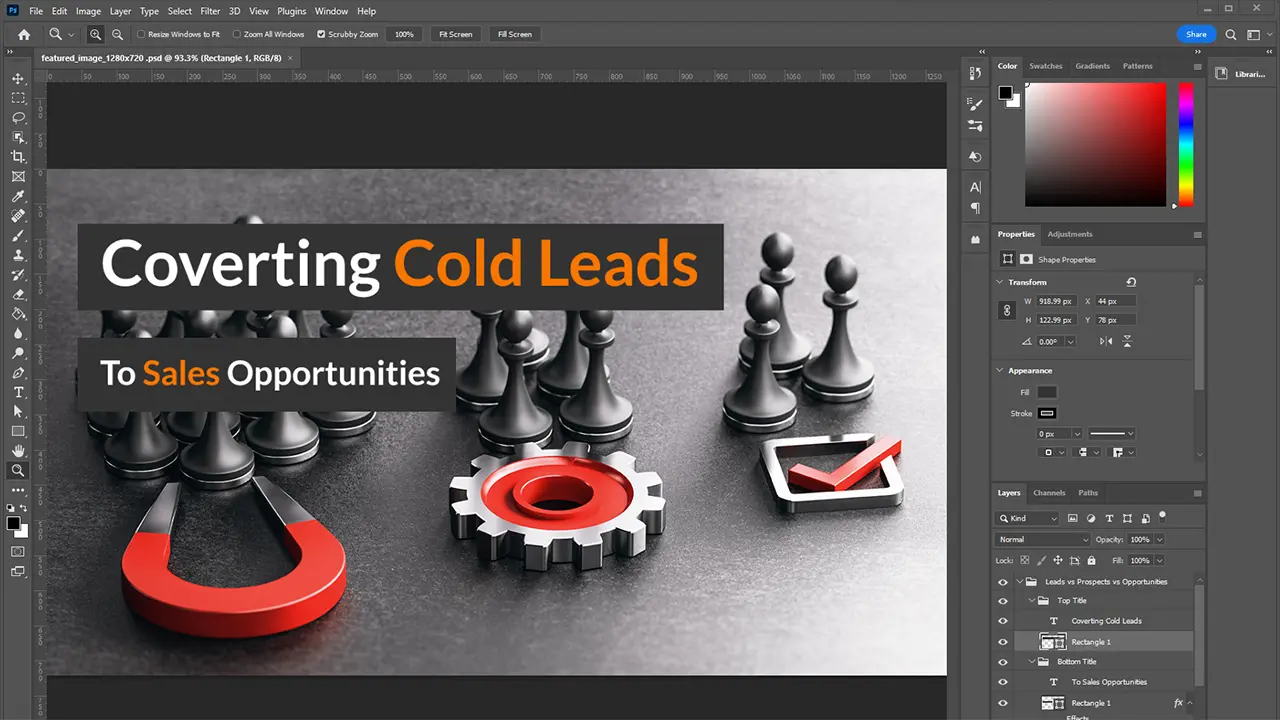
The app can be expanded with extensions to help aid the web design process.
Figma
Figma is the new designer’s favourite app on the block.
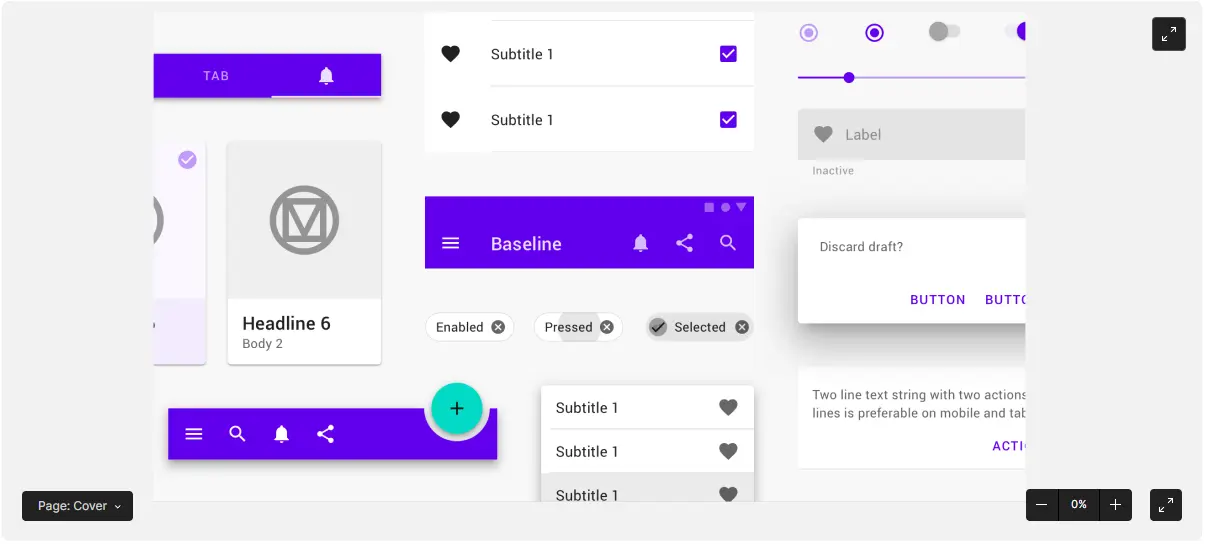
Figma is a collaborative web application for interface design, with additional offline features enabled by desktop applications for macOS, Windows and Linux.
Figma works directly in the web browser and can be used to create wireframes, website mockups, buttons and other user interface features.
Whatever tool you use to create your designs, ensure the client signs them off before implementing them in WordPress.
Step #2 Code Editor or IDE
Even if you are a WordPress designer, you’ll need to get your hands dirty with code, even if it’s just CSS or some PHP code snippets to paste into your theme’s functions.php file.
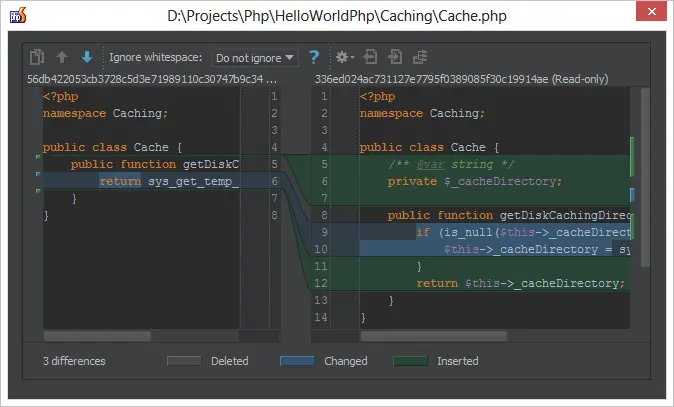
PhpStorm
I use PhpStorm from JetBrains.
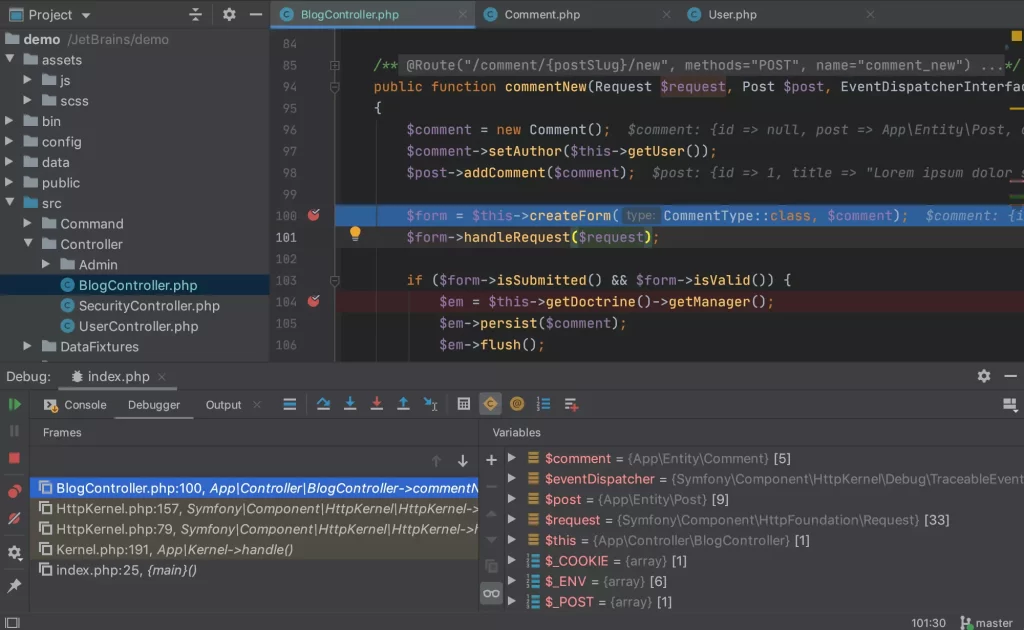
PhpStorm is more than just a code editor. It is a modern Integrated Development Environment (IDE) with a suite of tools for modern web development.
It supports transferring files to and from web servers, version control, WordPress code syntax, autocompletion and lots more.
Visual Studio Code
Visual Studio Code is a great alternative code editor.

VSC is a cost-free open-source IDE application that runs on macOS, Windows and Linux.
It has hundreds of extensions, including one for WordPress code syntax, that will support any WordPress project development from simple functions.php file editing to modern WP development.
Step #3 WordPress Development Environment
Of course, you will need a WordPress website to build your project, and there are two options to consider; local or remote development.
Remote Development
With remote development, your WordPress website is hosted live on the internet.
Any changes you make to your theme and plugins will have to be uploaded to the server, and you’ll need continuous access to the internet.
If you plan to use remote development, ensure you hide the website from search engines during the development phase.
Remote development has the benefit of being easier to share with clients for feedback and reviews.
You will have to pay for a domain name and hosting plan for your remote development site, and you can choose pretty much any hosting provider.
I use Wordify for my hosting, and they offer free development sites where you can host your project temporarily while the client reviews and provides feedback.
Local Development
I use a local development method for my WordPress projects, and the tool I use is LocalWP.
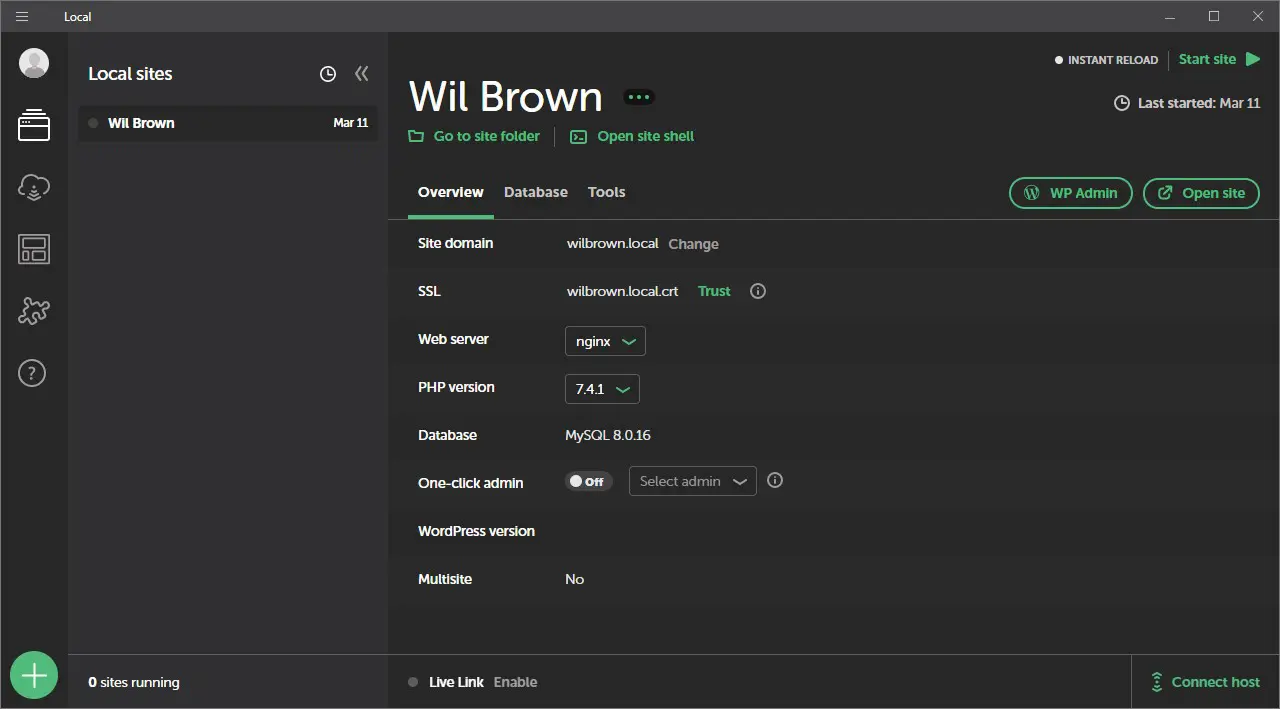
LocalWP is a complete WordPress local development environment, including the whole stack needed to host a WordPress website on your local machine.
I talked about LocalWP at one of my WordPress Sydney meetups.
There are alternatives to LocalWP, but they are vastly out-of-date, and IMHO none matches up to the convenience, interface and features that LocalWP provides.
For transparency, here are the other local WordPress apps:
- MAMP
- XAMPP
- WampServer
DesktopServer(this product has been discontinued)
Step #4 Install & Setup WordPress
You can’t run a WordPress project without WordPress, so the next step is installing and configuring your site, whether locally or remotely.

If you are using LocalWP, like me, spinning up a fresh WordPress installation is super easy.
Ensure you match the PHP version, database server and web server as closely as possible to your client’s web hosting environment to minimise any issues later on down the track.
If you’re installing remotely, both cPanel and Plesk have scripts to easily install WordPress on your web host.
Ensure that you enable WordPress debugging mode by adding the following lines to your wp-config.php file.
define( 'WP_DEBUG', true );
define( 'WP_DEBUG_LOG', true );
define( 'WP_DEBUG_DISPLAY', false );
The WordPress log file, located at [codelet]/wp-content/debug.log[/codelet], is probably the first place to look when you encounter errors during the website development process.
Step #5 Base Theme
I like to start all my WordPress website projects with a good lean theme.
I know others like to use these themes with a whole heap of features and plugins, but my philosophy for building a website is to be lean and fast.
Currently, my preferred go-to base theme is GeneratePress. It works well with company info sites, blogs, membership sites and WooCommerce stores.

For a while I used Underscores, but with the move over to block editing I wanted something that had a more modern and progressive approach.
I have tried Astra but felt that it just comes with too much stuff that I may never need to use.
In FB groups and other forums, people are always asking which is the “best” theme to use with “<insert plugin>”.
I think you first need to try out a few themes, and whatever works best for you, use that.
Step #6 Base Plugins
As with themes, everyone has a say on the best plugins to use for new website developments.
For me, the best plugins to use are the ones that help me through the development phase quickly.
Here is a list of base plugins I regularly have installed for new website projects.
- Debug Bar – Adds a debug menu to the admin bar that shows query, cache, and other helpful debugging information.
- Query Monitor – lists the current WP query and all associated info.
- Error Log Viewer – view the debug log without hitting the file system.
- Debug Bar Actions & Filters Addon – reports on actions and filters being used.
- ThemeCheck – test your theme and ensure it’s up to spec with the latest theme review standards.
- User Switching – switch to another user account to debug role and capability issues.
- Wordfence Security – Web Application Firewall (WAF) – keep hackers and malware out.
- WP Reset – completely resets WordPress back to the initial installation – use with care!
- Code Snippets – allows end-users to safely paste JS and PHP code blocks to their site, rather than bury them in functions.php.
- GenerateBlocks Pro – extends GeneratePress with additional blocks and styles for building block-editor-based themes and layouts.
- Advanced Custom Fields – because clients always want additional fields added to posts, custom post types and settings.
- Advanced Cron Manager – handy when building scheduled tasks..
Step #7 Backups
Before you do any development work, make sure you have a regular backup process.
This is especially important if you run your WordPress site on your local machine.
I have all my WordPress development sites in a Dropbox folder, so they are always backed up.
If you use a backup plugin, ensure it’s firing regularly using WP-Cron.
Two of the most popular backup plugins are UpdraftPlus and BackupBuddy.
Make sure you’re backing up the database, theme files and the uploads folder.
Download a backup and ensure you can unzip it on your local machine and that it contains what you expect.
Step #8 Version Control
Version control may seem like an advanced process but it’s really easy to start and something even beginner website developers should put in place.
There are countless times when a client has asked me to revert a change to a theme file, so having it all version-controlled saves me a tonne of time.
There are a couple of ways to get started with version control.
If you are new to version control, you should probably read up on Git for Beginners.
Git is a distributed version control system used by professional software developers and while you don’t need to learn every aspect of it, having a sound understanding of Git will be super helpful to your WordPress development workflow.
There are two great options if you want to use version control directly within WordPress.
Version control beginners should start with VersionPress. It’s an easy plugin to set up and use.

The documentation is extensive and easy to follow. You will need to set up a Git account for use with this plugin.
They recommend using GitHub, however, only public repositories are free on GitHub (you have to pay for private repos) and you probably don’t want your client site publicly accessible.
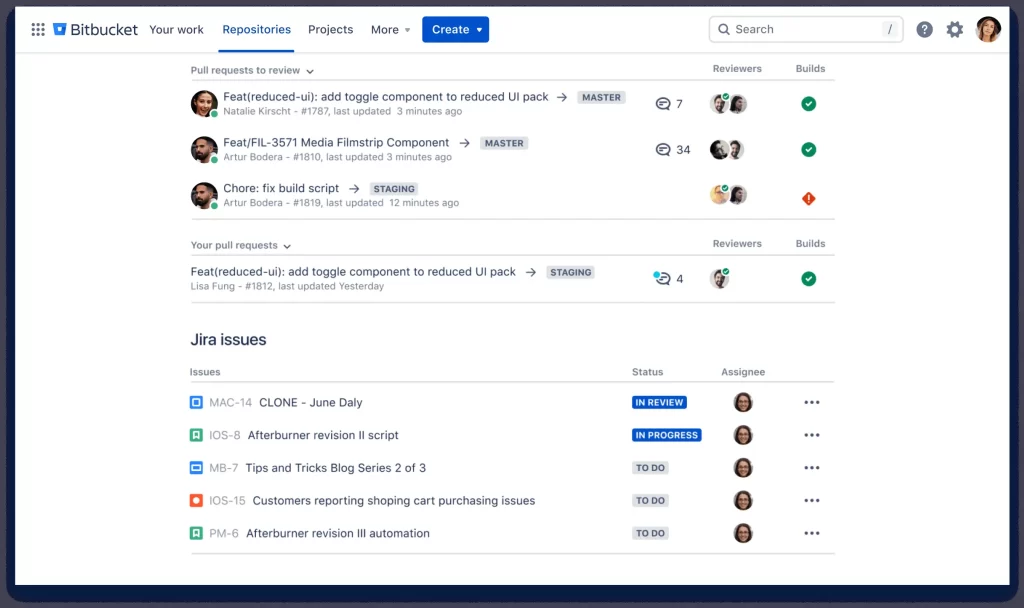
I recommend using BitBucket for free private Git repositories, it’s what I use for all my client sites.
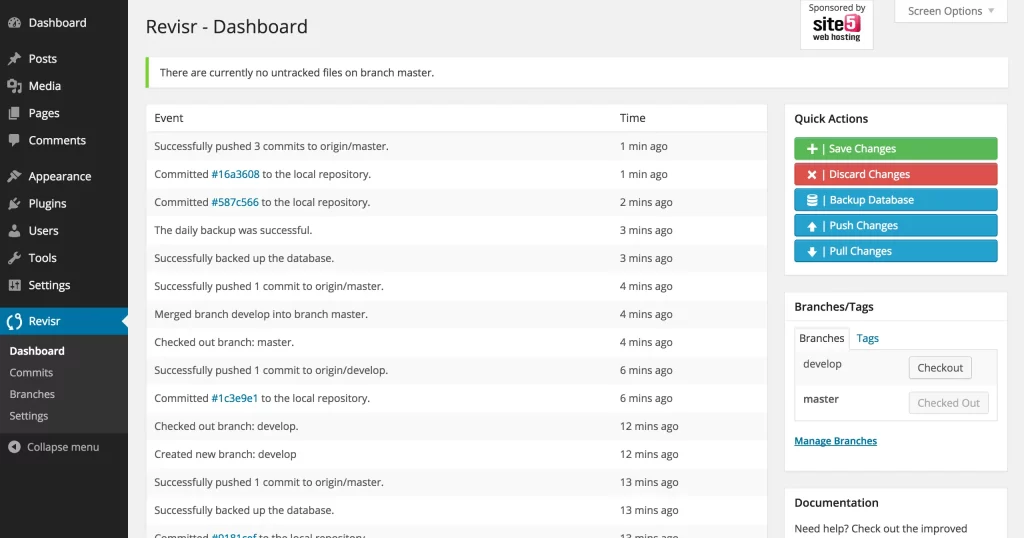
If you already have a good understanding of Git and you still want to manage version control within WordPress, Revisr is the way to go.
What do I use for version control?
My PhpStorm IDE has built-in Git version control.
Step #9 Development & Testing
This is the step most people jump into feet first – developing the website theme and pages.
In this step you want to progressively develop the website and offer snapshots to your client for review and feedback.
I know many developers just put their head down for 6-8 weeks, develop the whole website and then offer the client the finished product.
If you’re off the mark by even a little in the requirements, this can mean several more weeks of development that you haven’t budgeted on and damage relations with your client.
I suggest you clearly outline your snapshots with a version number so that you can collate feedback and apply it to the next build or iteration.
You should probably use some project management software to help you move between your project goals and phases.
I use Jira for my WordPress project management, but Asana is a good alternative.
Step #10 Customer Review & Feedback
When the project is almost done, and you’ve got no more requirements left to implement, now is the time to send your website to the client for a formal review and to collect feedback.
You can do that in several ways.
If you are using LocalWP it has a neat feature called “Live Links” that allows the client to directly view the website on your local machine when you let them, of course, and your machine needs to stay on during the process.
The easiest way to share your work is by copying your website to a staging or development server hosted live on the internet.
That way, the client can review the website at their own time and pace.
Most web hosts offer a staging or developer area separate from the production live-hosted website.
You will of course have to copy your remote or locally developed website to the staging area and make sure that everything is functioning properly before giving access to the client.
Tip: remember to hide the staging site from search engines!
I use Wordify for all my client staging areas; they are hidden behind a password-protected folder by default.
You have to enter the directory, a username and a password before getting access to the website – this is separate from the WordPress login – often called Basic Authentication.

Remember to give the Basic Authentication login details to your clients.
I usually make a short video showing them how to access the site and where to enter the information. Otherwise, they could get confused over the two different login systems.
Step #11 Deployment
Yay – your project is finally ready to go live.
You will have to discuss the best way to deploy your new website project with your client.
Are you replacing an existing website and need to copy some legacy data to the new site first?
If you need to preserve data from the existing site, you’ll probably need some downtime to accomplish this.
Who will perform the deployment – you, the client or a third party?
All you may need to do is to provide the files and database SQL.
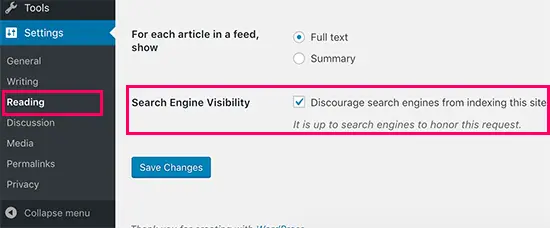
Regardless of who performs the actual live deployment, ensure you have a pre and post-deployment checklist to ensure the process goes smoothly. You don’t want to miss anything (like unchecking the “Search Engine Visibility” checkbox on WordPress Settings > Reading.
Step #12 Project Completion
Your WordPress website has been delivered and deployed to live hosting – congratulations, but that’s not the end of the project.
You need to ensure that your client formally signs off the project as complete. This is a super-important task to complete.
The client may have additional work to do before their internal project is complete, so make sure you get paid for your part in the client project.
Do you offer a warranty period when the client can report bugs that you fix for free?
Ensure the client understands when the warranty starts and ends and what is covered in the scope of the warranty.
Finally, you may want to ask the client for a Google review or testimonial that you can use on your website for social proof and marketing purposes.
Modern WordPress Development Workflow Components
If you would like to extend the development workflow to include more modern WordPress development steps, here is a list of items for your consideration.
- Gulp – automate slow, repetitive workflows.
- Node JS/NPM – npm is a package manager for JavaScript.
- Composer – an application-level dependency manager for PHP.
- Continuous integration – automating code changes from multiple contributors into a single software project.
- Git hook deployment – deploy code via Git pushes and commits.
- Linting – analyse your source code quality and compliance with coding standards.
- SCSS to CSS – Write in SCSS and compile to CSS.
- Vue.js – an open-source model–view–viewmodel front-end JavaScript framework.
- React – open-source front-end JavaScript library for building user interfaces
Conclusion
Implementing an easy-to-follow WordPress development workflow will streamline your projects, benefiting you and your clients.